
Crispy Baked Chicken Strips Recipe: A Simple Guide
Written By Santa Prisca & Co Staff Last updated on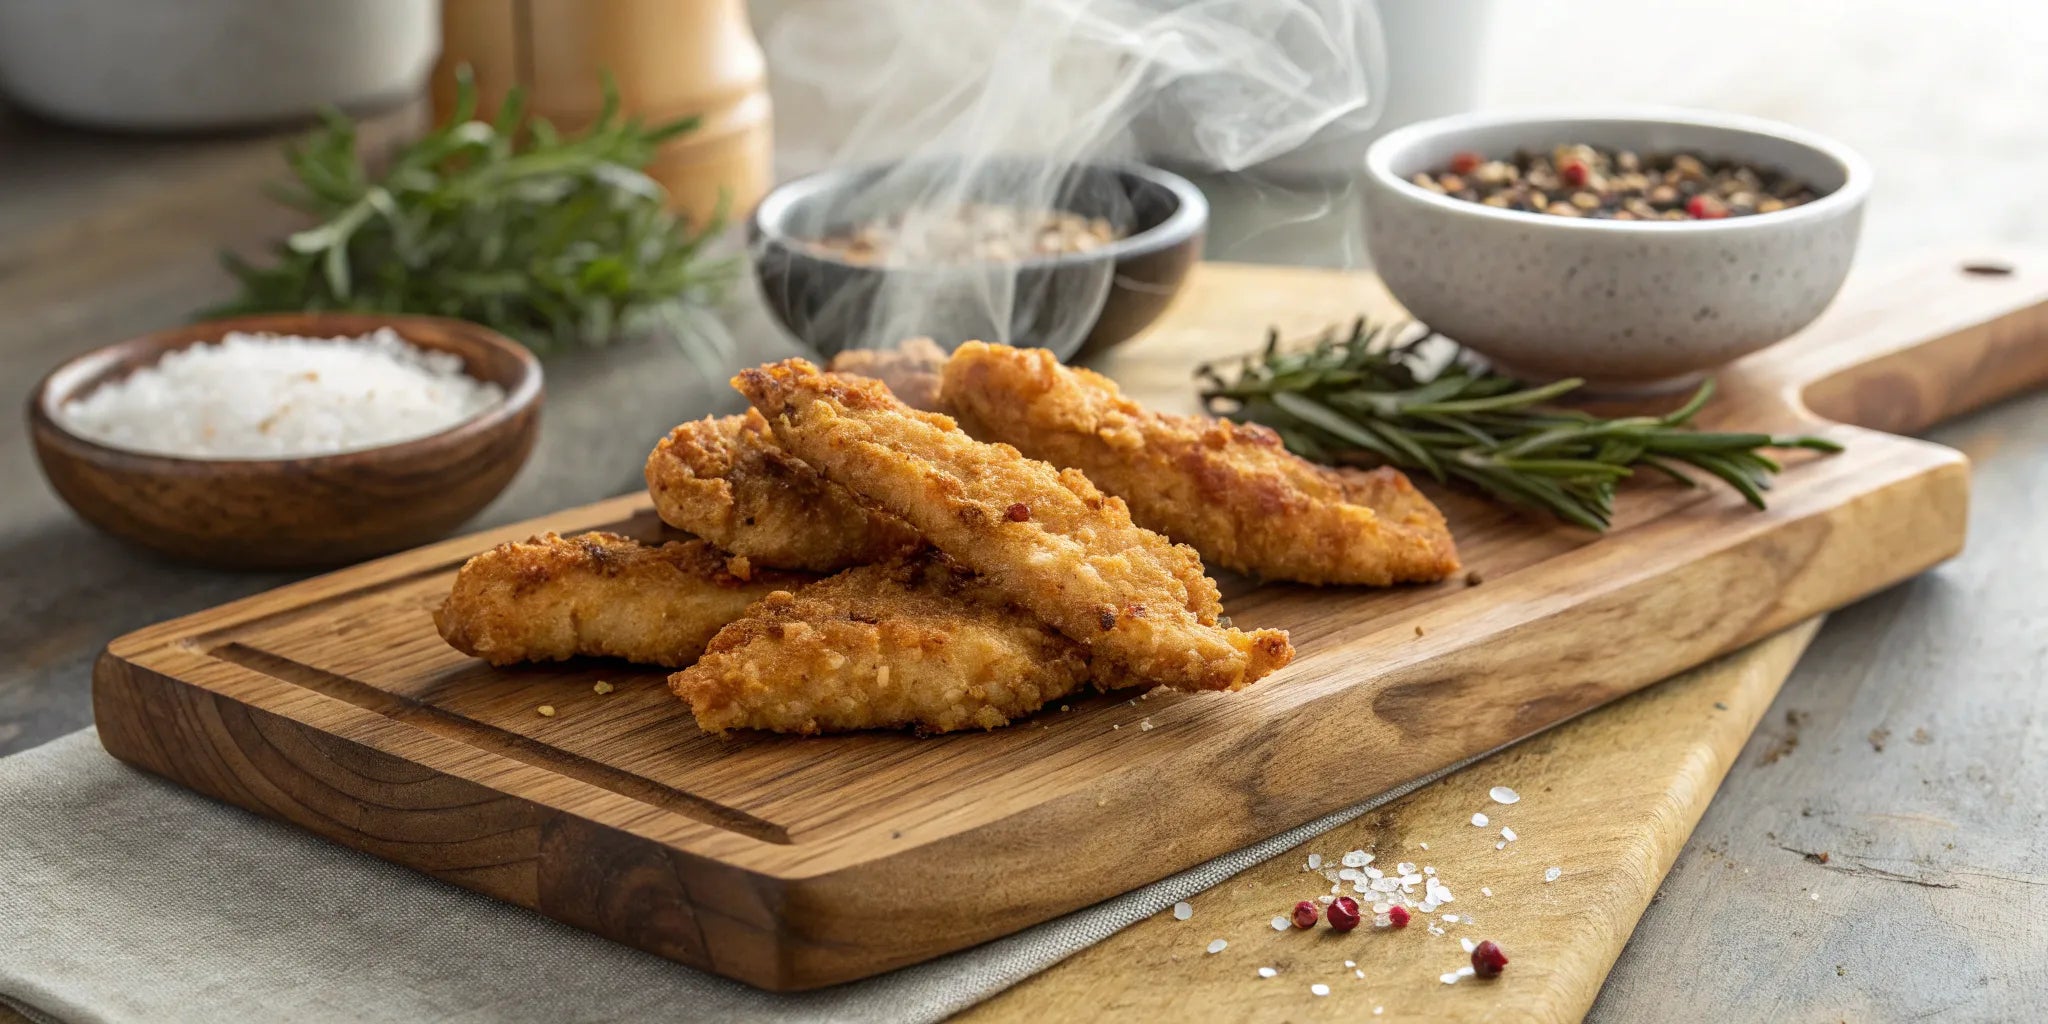
There’s a special kind of comfort in a perfectly cooked chicken strip, isn’t there? That initial, delightful crunch giving way to incredibly tender, juicy chicken. This baked chicken strips recipe delivers all of this simple joy, but with a thoughtful, wellness-minded approach that feels so good. We're moving beyond the everyday and embracing a way of cooking that nourishes both body and spirit. It’s about choosing ingredients with intention, like our hand-harvested Colima Sea Salt, and transforming them into something truly special. This isn't just about dinner; it's about creating moments of delicious well-being in your own kitchen, proving that wholesome can be wonderfully satisfying and a true delight to share.
Key Takeaways
- Prioritize quality ingredients for superior taste: Selecting fresh chicken and a distinctive sea salt, like our Colima Sea Salt, makes a noticeable difference in the final flavor of your baked strips.
- Achieve a perfect, oven-baked crisp: Use panko breadcrumbs and bake on a wire rack at the right temperature to get that satisfying crunch without deep frying.
- Make them your own and simplify mealtime: Get creative with seasonings and dips, and use our storage and reheating tips to enjoy delicious homemade chicken strips whenever you like.
What Exactly Are Baked Chicken Strips?
There’s a certain kind of magic in a perfectly cooked chicken strip, isn’t there? That initial, delightful crunch that gives way to incredibly tender, juicy chicken. Baked chicken strips deliver all of this simple joy, but with a thoughtful, wellness-minded approach that feels so good. Picture this: premium chicken breast, carefully cut into strips, then lovingly coated in a vibrant, seasoned breadcrumb mixture. Instead of being submerged in oil, these beauties are gently baked in the oven until they achieve a gorgeous golden-brown hue and an absolutely irresistible crispness. It’s a beautiful transformation.
This method isn’t just about achieving that wonderful texture we all crave; it’s a way to savor incredible flavor without the heaviness that can sometimes accompany fried foods. Baking allows the chicken's natural taste and the carefully chosen seasonings to truly shine, creating a depth of flavor that’s both clean and satisfying. It’s a simple shift in preparation that makes a world of difference, turning a beloved classic into a dish you can feel truly wonderful about enjoying and sharing with those you care about.
Why You'll Adore Homemade Chicken Strips
Creating chicken strips in your own kitchen is such a rewarding experience, an open invitation to play with flavors and craft something that’s uniquely yours. Forget the one-size-fits-all approach; homemade means you get to be the artist, choosing seasonings and herbs that perfectly match your cravings or the mood of the evening. Whether you’re drawn to a comforting, classic blend or feel like venturing into brighter, spicier territories, the creative power is entirely in your hands. This wonderful flexibility makes them a fantastic option for any meal, from a quick and satisfying lunch to a fulfilling dinner, or even as a delightful, shareable snack.
Beyond the delicious outcome, there’s a simple, grounding joy in the process itself. Preparing food with intention can be a wonderfully calming activity, and these chicken strips are particularly fun to assemble. It’s a lovely way to explore ingredients and perhaps even get the family involved in the kitchen, sharing moments and creating food together. The warm, inviting aroma that fills your home as they bake is just the beginning of the truly rewarding experience.
Baking vs. Frying: A Healthier, Flavorful Choice
Choosing to bake your chicken strips is a wonderful way to embrace a lighter, more nourishing approach to a beloved comfort food. This gentle cooking method significantly reduces the amount of oil needed compared to deep frying, which means you can fully enjoy that satisfying, crispy texture without a second thought. Baking also encourages more even cooking, ensuring the chicken inside stays wonderfully moist and tender while the outside develops that beautifully crisp, golden crust we all look for.
This careful cooking process allows the inherent flavors of the chicken and your chosen seasonings to truly come alive. When you start with high-quality ingredients and finish with just a touch of something special, like a sprinkle of Santa Prisca & Co. Colima Sea Salt, baking helps those pure, distinct tastes meld together beautifully. It’s about savoring every delicious bite, knowing you’ve chosen a path that’s both incredibly flavorful and supportive of your well-being.
Gathering Your Essentials for Irresistible Baked Chicken Strips
Creating truly memorable baked chicken strips starts long before the oven even thinks about warming up. It begins with a thoughtful approach to selecting your ingredients, almost like gathering treasures for a special creation. When we choose with intention, focusing on quality and flavor, we’re not just preparing a meal; we’re setting the stage for a delightful experience. Each component, from the chicken itself to that final, delicate sprinkle of seasoning, plays its part in crafting strips that are wonderfully crispy on the outside and beautifully tender within. Let’s walk through the essentials that will help you achieve baked chicken strip perfection, turning a simple dish into something truly special.
Selecting Quality Chicken for Tender Strips
The heart of any fantastic chicken strip recipe is, naturally, the chicken. For that melt-in-your-mouth tenderness we all crave, I always recommend reaching for boneless, skinless chicken breasts. They are wonderfully lean, which not only contributes to a healthier dish but also means they cook evenly and readily absorb all the delicious flavors you’ll be adding. Taking a moment to select quality poultry is a simple yet impactful step. It ensures your chicken strips will be juicy and satisfying, providing that perfect canvas for a crispy, flavorful coating. This mindful choice lays the groundwork for a wholesome meal you can feel truly good about sharing.
Crafting the Perfect, Flavorful Breading
Now, let’s talk about achieving that irresistible, golden crunch – it’s all in the breading! This is where your culinary creativity can truly shine. While plain breadcrumbs are a fine start, why not invite more flavor to the party? Think about enriching your crumbs with aromatic dried herbs like oregano or thyme, a hint of garlic powder for depth, or even a touch of finely grated Parmesan cheese for a savory, umami note. Some of the most delicious chicken strip recipes I’ve encountered begin with a flavorful marinade, allowing the chicken to bathe in goodness before it even meets the breading. This step infuses the chicken from the inside out, ensuring every single bite is packed with character. You might even find inspiration for your spice blends by exploring our range of specialty food products.
The Finishing Touch: Seasoning with Santa Prisca & Co. Colima Sea Salt
The final, yet absolutely crucial, element to bringing your baked chicken strips to vibrant life is the seasoning. And believe me, the quality of your seasoning makes all the difference. Using fresh, lively spices will awaken the palate, but the true star for that perfect finish is a high-quality sea salt. A delicate sprinkle of our Santa Prisca & Co. Colima Sea Salt can transform your chicken strips from simply good to utterly extraordinary. Lovingly hand-harvested from the pristine salt flats of Colima, Mexico, its pure, mineral-rich crystals enhance the natural taste of the chicken and beautifully complement your chosen herbs and spices without ever overpowering them. This isn't just salt; it’s a whisper of the earth, a burst of clean, crisp flavor that harmonizes all the elements, proving how simple, exceptional ingredients can create moments of pure culinary joy.
Prepping Your Chicken: The First Step to Perfection
The journey to irresistible baked chicken strips, with their perfect crunch and tender bite, truly starts with careful preparation. These initial steps are where we build flavor and texture from the ground up. It’s about transforming simple chicken into something truly special with a little intention. We’ll walk through how to cut your chicken for even cooking, set up an efficient breading station, and the magic of marinating for extra tenderness and taste. Getting these foundations right makes all the difference.
How to Cut and Trim Chicken Like a Pro
For strips that are wonderfully tender and cook through evenly, we always reach for boneless, skinless chicken breasts. Their lean nature and mild flavor make them the perfect canvas for our delicious breading and seasonings. As you prepare your chicken, take a moment to trim away any visible fat.
Then, slice the chicken across the grain into uniform strips, aiming for about half an inch in thickness. This consistency is key; it ensures each piece bakes at the same rate, resulting in perfectly cooked chicken that’s juicy inside and beautifully golden outside. This mindful cutting means every strip offers that satisfying, tender bite.
Organize Your Breading Station for Easy Coating
Creating a smooth workflow for breading makes all the difference, turning a potentially messy task into a graceful kitchen ritual. Set up three shallow dishes: one for seasoned flour, another for whisked eggs (perhaps with a splash of milk), and a third for your breadcrumbs, like panko for extra crunch.
This organized approach, as experts at Chef Maniac outline, simplifies the process. You'll take each chicken strip, first dusting it in flour, then dipping it in the egg wash, and finally pressing it firmly into the breadcrumbs. This ensures the coating adheres beautifully for an even, crave-worthy crust.
Marinate for Extra Flavor and Supreme Tenderness
If time allows, marinating your chicken strips can elevate them to another level of deliciousness. This step is a wonderful way to infuse deeper layers of flavor and ensure each bite is supremely tender. A simple marinade can be crafted using buttermilk or plain yogurt for tenderness, or a bright citrus juice for zest.
Whisk in your favorite herbs and spices—smoked paprika, garlic powder, or a hint of cayenne. And of course, a pinch of our Colima Sea Salt will beautifully enhance all those flavors. Let the chicken rest in this flavorful bath for at least 30 minutes, or a few hours in the fridge, for the best results.
Our Secrets to Achieving That Perfect Crisp
There’s something incredibly satisfying about a perfectly crisp chicken strip, isn't there? That delightful crunch, followed by tender, juicy chicken – it’s a texture and flavor combination that many of us adore. We believe that creating this experience at home should be simple and rewarding, using wholesome methods that let the quality of your ingredients shine. Forget the fuss of deep frying; these thoughtful techniques will guide you to achieving that irresistible crispness right in your oven, making every bite a moment to savor.
Panko Power: The Key to Unbeatable Crunch
For a truly exceptional crunch that sings, panko breadcrumbs are your closest ally in the kitchen. These Japanese-style breadcrumbs are crafted into larger, flakier pieces compared to traditional breadcrumbs, giving them an airy quality that translates to an incredibly light yet substantial coating. When baked, panko transforms into a beautifully golden, crisp shell. To deepen their flavor and ensure an even more pronounced crispiness, consider a simple toasting of the panko in the oven for just a few minutes before breading your chicken. This small act of preparation makes a world of difference to the final texture.
Master the Double Dip for Ultimate Crispiness
If you’re aiming for a coating that’s not just crisp, but wonderfully robust and layered, embracing the double dip method is the way to go. This involves first lightly coating your chicken in seasoned flour, then dipping it into a rich batter before its final tumble in panko. A well-crafted batter, perhaps combining egg with a touch of flour, a hint of mustard for zest, and even a little mayonnaise or oil for richness, does more than just help the breadcrumbs adhere; it creates an additional layer of flavor and contributes significantly to that sought-after, satisfyingly thick crunch.
Bake Hot & Use a Wire Rack: The Crisping Duo
Achieving that beautiful, even crispness all around your chicken strips in the oven comes down to two vital elements: high heat and excellent air circulation. You’ll want to preheat your oven to a good 400°F (200°C), as this allows the coating to set and crisp quickly. More importantly, instead of placing your chicken directly onto a baking sheet, elevate them on a wire rack set within the sheet. This clever setup allows the hot air to flow freely around each piece, ensuring the bottoms become just as golden and crisp as the tops. Say goodbye to any hint of sogginess and hello to perfectly textured chicken.
Your Simple Guide to Baking Flawless Chicken Strips
Creating chicken strips that are wonderfully crispy outside and perfectly tender within is a simple joy. It’s about a few key techniques that transform humble chicken into a delightful meal. Baking offers a straightforward path to deliciousness, allowing natural flavors to shine, especially when seasoned with care. This method fills your kitchen with an inviting aroma and gives you a healthier, satisfying result. Let's walk through achieving that perfect bake, ensuring every strip is golden, crispy goodness.
Preheat Your Oven & Set Up Your Pan
First things first, let’s get that oven warming up. Setting your oven to 400°F (200°C) is the sweet spot for achieving that coveted crispiness without drying out the chicken. As it preheats, prepare your baking sheet. I always recommend lining it with parchment paper. This isn't just for easy cleanup; it also helps prevent the chicken from sticking and promotes more even cooking from underneath. Once your pan is lined, arrange the prepared chicken strips in a single layer, making sure they have a little space between them. This allows the hot air to circulate freely, crisping up all sides beautifully.
Coat and Arrange Your Chicken with Care
The secret to an irresistible crunch lies in the breading. A simple three-step process works wonders here. Begin by lightly coating each chicken strip in flour – this gives the egg something to cling to. Next, dip the floured strip into a bowl of beaten eggs. Finally, press it firmly into your breadcrumbs (we talked about using Panko for extra crunch earlier!). Don’t be shy with this step; ensuring the breadcrumbs adhere well is crucial for that satisfying texture. This careful coating is what builds that beautiful, crispy crust we’re aiming for.
Bake to Golden Perfection: Time & Temperature Tips
With your chicken strips beautifully coated and arranged, they’re ready for their transformation in the oven. Slide them into your preheated 400°F (200°C) oven and bake for about 15 to 20 minutes. You’re looking for a gorgeous golden-brown color and a crispy exterior. Halfway through, you might consider flipping them to ensure even crisping on all sides. Most importantly, for both safety and perfect texture, ensure the chicken is cooked through. The easiest way to check for doneness is with a meat thermometer; it should read 165°F (75°C) in the thickest part of the strip.
Convection or Conventional? Adjusting Your Bake
If you’re working with a convection oven, you have a slight advantage as they are designed to circulate hot air, which can lead to even crispier results. You might find that you can lower the temperature slightly, perhaps to 375°F (190°C), and still achieve that beautiful crispness. Convection ovens often cook faster, so start checking your chicken strips a bit earlier, perhaps reducing the total cooking time by about 25%. Regardless of your oven type, the golden rule remains: cook until the internal temperature reaches a safe 165°F (75°C). This ensures they are perfectly cooked and delightfully juicy inside.
How to Tell When Your Chicken Strips Are Just Right
Knowing when your chicken strips are perfectly cooked is more than just a step in a recipe; it’s the secret to unlocking that wonderful combination of a juicy, tender inside and a delightfully crisp outside. It’s about serving a meal prepared with intention and care. With a few simple observations and tools, you can confidently present chicken strips that are not only safe to enjoy but also a true pleasure to eat, making every bite a moment to appreciate.
Use a Meat Thermometer: Your Key to Confidence
When it comes to cooking chicken, a meat thermometer is your most trusted companion. It removes any uncertainty, ensuring your chicken strips are cooked all the way through to a safe internal temperature. This is crucial for food safety, of course, but it also helps you achieve that perfect tenderness without overcooking. Simply insert the thermometer into the thickest part of a strip. You’re looking for a reading of 165°F (74°C). This small step brings peace of mind and consistently delicious results, turning a simple meal into a thoughtfully prepared dish.
Spotting the Signs: Visual Cues for Cooked Chicken
While a thermometer offers precision, your senses also play a vital role. Look for a beautiful, even golden-brown color on the outside of your chicken strips—this indicates a well-developed crust. Another key sign is the juices; when you gently pierce a strip with a fork or the tip of a knife, the juices should run clear. If you see any pinkness in the juices or the meat itself, they need a bit more time in the oven. Generally, baking at 400°F (200°C) will take about 15-20 minutes. If you're using a convection oven setting, which helps circulate air for extra crispiness, you might find they cook a little faster or at a slightly lower temperature.
Steer Clear of These Common Chicken Strip Pitfalls
A couple of simple adjustments in your cooking process can make all the difference between good and great chicken strips. Firstly, resist the urge to overcrowd your baking sheet. Giving each strip its own space is essential for allowing the hot air to circulate properly. This is what helps them develop that irresistible crispiness all around. When strips are too close together, they tend to steam rather than bake, which can leave them a bit soft. Secondly, always double-check for doneness to avoid undercooking. No one wants their meal compromised by undercooked chicken. Being mindful of these details ensures every strip is a delight.
Get Creative: Delicious Flavor Twists for Your Strips
Once you’ve mastered the art of perfectly crispy baked chicken strips, the real fun begins: playing with flavors! Think of your golden chicken strips as a beautiful canvas, ready for you to paint with an array of tastes. A simple marinade or a thoughtful spice blend can transform your meal, turning a familiar favorite into an exciting new experience. And remember, a pinch of our Colima Sea Salt can beautifully enhance any flavor profile you choose, balancing sweetness, deepening savory notes, or brightening citrusy zest. Let’s explore some delightful ways to dress up your chicken.
Explore Herb-Infused and Aromatic Spice Coatings
There’s something truly special about the aroma of fresh herbs and spices filling your kitchen. To infuse your chicken strips with vibrant, fresh notes, consider a simple marinade. Imagine your chicken bathing in a bright mixture of lemon juice, good olive oil, freshly minced garlic, and a generous handful of chopped herbs like rosemary, thyme, and parsley. This not only imparts a wonderful depth of flavor but also helps keep the chicken incredibly moist and tender as it bakes. You can also experiment with dried herbs and spices in your breading mixture – think smoked paprika for warmth, a touch of cumin for earthiness, or garlic powder and onion powder for a savory foundation. The key is to choose combinations that speak to your palate and complement the natural flavor of the chicken.
Brighten Up with Lemon Herb or Sweeten with Honey BBQ
For a taste of sunshine, a lemon herb coating is always a winner. The bright acidity of lemon, paired with delicate herbs, creates a refreshing counterpoint to the rich chicken. You could even add a little lemon zest to your panko breadcrumbs for an extra citrusy pop. On the other hand, if you’re craving something a bit sweeter and tangier, a honey BBQ glaze is a fantastic choice. Picture your crispy chicken strips, fresh from the oven, tossed in a glistening, homemade honey BBQ sauce. This combination is wonderfully satisfying and surprisingly simple to prepare, making it a perfect option for a quick family meal. A touch of our mineral-rich sea salt in your homemade BBQ sauce can really make those sweet and smoky flavors sing.
Add a Kick: Sesame Ginger or Classic Buffalo
If you’re in the mood for something with a bit more punch, why not try a sesame ginger marinade? The umami-rich soy sauce, warming ginger, fragrant garlic, and nutty sesame oil create an irresistible Asian-inspired flavor. This combination works beautifully to tenderize the chicken and infuse it with a complex, savory taste. Alternatively, for those who enjoy a little heat, classic buffalo sauce is a go-to. A simple marinade or a post-bake toss in a buttery, tangy buffalo sauce will give your chicken strips a delightful kick. Don't be afraid to explore different hot sauces to find your preferred level of spice and flavor profile, allowing you to customize the heat to your liking.
Serving Your Beautiful Baked Chicken Strips
Now that you’ve lovingly prepared those golden, crispy chicken strips, perfectly seasoned with a touch of Santa Prisca & Co. Colima Sea Salt, it’s time to think about how they’ll grace your table. The way we serve our food is an extension of the care we put into cooking it. Thoughtful accompaniments don't just complete the meal; they elevate the entire experience, turning a simple dish into a moment of shared enjoyment and nourishment. It’s about creating a spread that invites everyone to gather, savor, and appreciate the goodness before them.
Whip Up These Delightful Homemade Dips
Imagine those perfectly baked chicken strips, still warm and fragrant from the oven. What could make them even more inviting? A selection of homemade dips, of course! Crafting your own sauces is a wonderfully simple way to add a personal touch and a burst of fresh flavor. Consider a creamy honey mustard, a tangy sweet and sour sauce, or perhaps even a vibrant pink steak sauce for an unexpected twist. Each dip offers a new dimension, a new way to enjoy the wholesome taste of your chicken.
It’s all about embracing a little creativity and discovering those flavor combinations that make your heart sing. Offering a few different options allows everyone at the table to customize their plate and find their own favorite pairing. Plus, when you prepare dips from scratch, you have the peace of mind knowing exactly what goes into them—just pure, delicious ingredients that honor the care you've already poured into your main dish.
Pair with These Nourishing, Wholesome Sides
A plate of beautifully baked chicken strips truly comes alive when nestled beside nourishing, wholesome sides. Think of a vibrant, crisp salad, perhaps tossed with a light, homemade vinaigrette that allows the fresh flavors of the greens to shine. Or, picture a medley of colorful roasted vegetables, their natural sweetness enhanced by the oven's warmth. These thoughtful additions not only create a wonderfully balanced meal but also contribute beautiful textures and colors to your presentation. It’s about crafting a meal that feels both deeply satisfying and genuinely good for you.
For those seeking a bit more comfort, fluffy quinoa or creamy mashed sweet potatoes can be lovely companions. And remember, those delightful dips you prepared earlier? They can be just as wonderful alongside your chosen sides! Taking a moment to assemble a complete, thoughtful plate is a simple yet profound act of care, transforming dinnertime into a special occasion for connection and well-being.
Smart Storing, Reheating, and Prep-Ahead Tips
One of the true pleasures of cooking a thoughtful meal is the anticipation of enjoying it again, or the quiet satisfaction of knowing you’ve set your future self up for an easier day. These crispy baked chicken strips are a delight straight from the oven, but they also hold their own beautifully as leftovers or as the star of a well-planned meal. Let's explore how to keep them tasting their best, bring back that wonderful crisp texture, and simplify your weeknight cooking. A little care in how you store and reheat not only preserves flavor but also honors the quality ingredients and the effort you’ve put in.
How to Store Leftovers to Keep Them Fresh
When you’ve savored your meal and find yourself with some golden chicken strips remaining, storing them correctly is the secret to keeping them fresh and inviting. First, allow the chicken strips to cool down to room temperature. This simple pause prevents condensation from forming inside the container, which can make that lovely breading less crisp.
Once cooled, transfer the strips to an airtight container. This step is vital for maintaining their texture and the nuanced flavors, especially if you’ve seasoned them with something special like our Colima Sea Salt. Stored this way in your refrigerator, the chicken strips will stay delicious and safe to eat for up to three or four days. Imagine, a quick, wholesome meal or snack, ready when you are.
Reheat Like a Charm: Restoring That Perfect Crisp
Bringing that satisfying, just-baked crispness back to your leftover chicken strips is simpler than you might imagine. While using a microwave is certainly fast, it often leaves breaded foods a bit softer than ideal. To recapture that delightful crunch, your oven or an air fryer will be your best friends.
To reheat using your oven, preheat it to about 350°F (175°C). Arrange the chicken strips in a single layer on a wire rack set over a baking sheet. Using a wire rack is a small detail that makes a big difference; it allows the warm air to circulate fully around each strip, crisping all sides evenly instead of steaming the bottom. Just a few minutes is typically all it takes to revive their wonderful texture, making them taste almost as good as when they first emerged from the oven.
Plan Ahead: Tips for Easy Weeknight Meals
Baked chicken strips are a wonderful solution for those busy weeknights when time feels scarce, and a bit of forethought can transform your evening. If you anticipate a packed schedule, you can bread the chicken strips a day in advance. Simply prepare them up to the point of baking, then store them covered in the refrigerator.
When it’s time to cook, preheat your oven to 400°F (200°C). An essential tip for easy cleanup and even baking is to line your baking sheet with parchment paper. Arrange your prepared chicken strips in a single layer, making sure they have a little space between them. This allows them to bake evenly and achieve that beautiful golden-brown color. This kind of simple meal preparation not only saves valuable time but also ensures a nourishing, homemade meal is always within easy reach, bringing a sense of calm to your kitchen.
Related Articles
- Easy Chicken Farro Recipe: Your Hearty Go-To – Santa Prisca & Co
- 8 Delicious Chilled Salad Recipes for 2025 – Santa Prisca & Co
- How to Make Chilaquiles – Best Chilaquiles Recipes & Tips | Santa Prisca & Co.
- Sea Salt for Cooking: Types, Benefits, and How to Use It Like a Pro – Santa Prisca & Co
- The Essential Salt Pot: A Cook's Buying Guide – Santa Prisca & Co
Frequently Asked Questions
My baked chicken strips sometimes turn out a bit soft, not crispy. What am I doing wrong? Achieving that wonderful crispness often comes down to a few key details. Ensure your oven is properly preheated to a good, hot temperature, usually around 400°F (200°C). Also, give your chicken strips some space on the baking sheet; overcrowding can cause them to steam rather than bake. Using panko breadcrumbs can make a significant difference in texture, and placing the strips on a wire rack set inside your baking sheet allows hot air to circulate all around them, crisping every side beautifully.
Is there a simple way to add more flavor to my chicken strips beyond just salt and pepper? Absolutely! This is where you can really let your creativity shine. Consider marinating the chicken strips for at least 30 minutes before breading. A simple mix of buttermilk or yogurt with your favorite herbs and spices can tenderize the chicken and infuse it with lovely flavor. You can also incorporate dried herbs, garlic powder, onion powder, or even a touch of smoked paprika directly into your breadcrumb mixture for an extra layer of taste.
What’s the most reliable way to know my chicken strips are cooked through without drying them out? The most dependable method is to use a meat thermometer. Chicken is safely cooked when its internal temperature reaches 165°F (75°C) in the thickest part of the strip. This takes the guesswork out of it and helps prevent overcooking, which can lead to dry chicken. Visually, the juices should run clear when pierced, and the breading should be a lovely golden brown.
Can I make these chicken strips ahead of time for a quick weeknight dinner? Yes, you certainly can, which is a wonderful way to simplify your evenings. You can prepare the chicken strips by cutting and breading them, then store them in an airtight container in the refrigerator for up to a day before you plan to bake them. When you're ready, just pop them into your preheated oven. This little bit of prep can make a homemade meal feel much more manageable on busy nights.
Besides the chicken itself, what’s one ingredient that can really make a difference in the final taste? A truly high-quality finishing salt can make a remarkable difference. After your chicken strips are baked to golden perfection, a light sprinkle of a pure, mineral-rich sea salt, like our Santa Prisca & Co. Colima Sea Salt, can enhance all the other flavors you’ve carefully built. It adds a clean, bright note that beautifully rounds out the taste of the chicken and seasonings.