
Easy Crock-Pot Beef Chili Recipe: Simple & Flavorful
Written By Santa Prisca & Co Staff Last updated on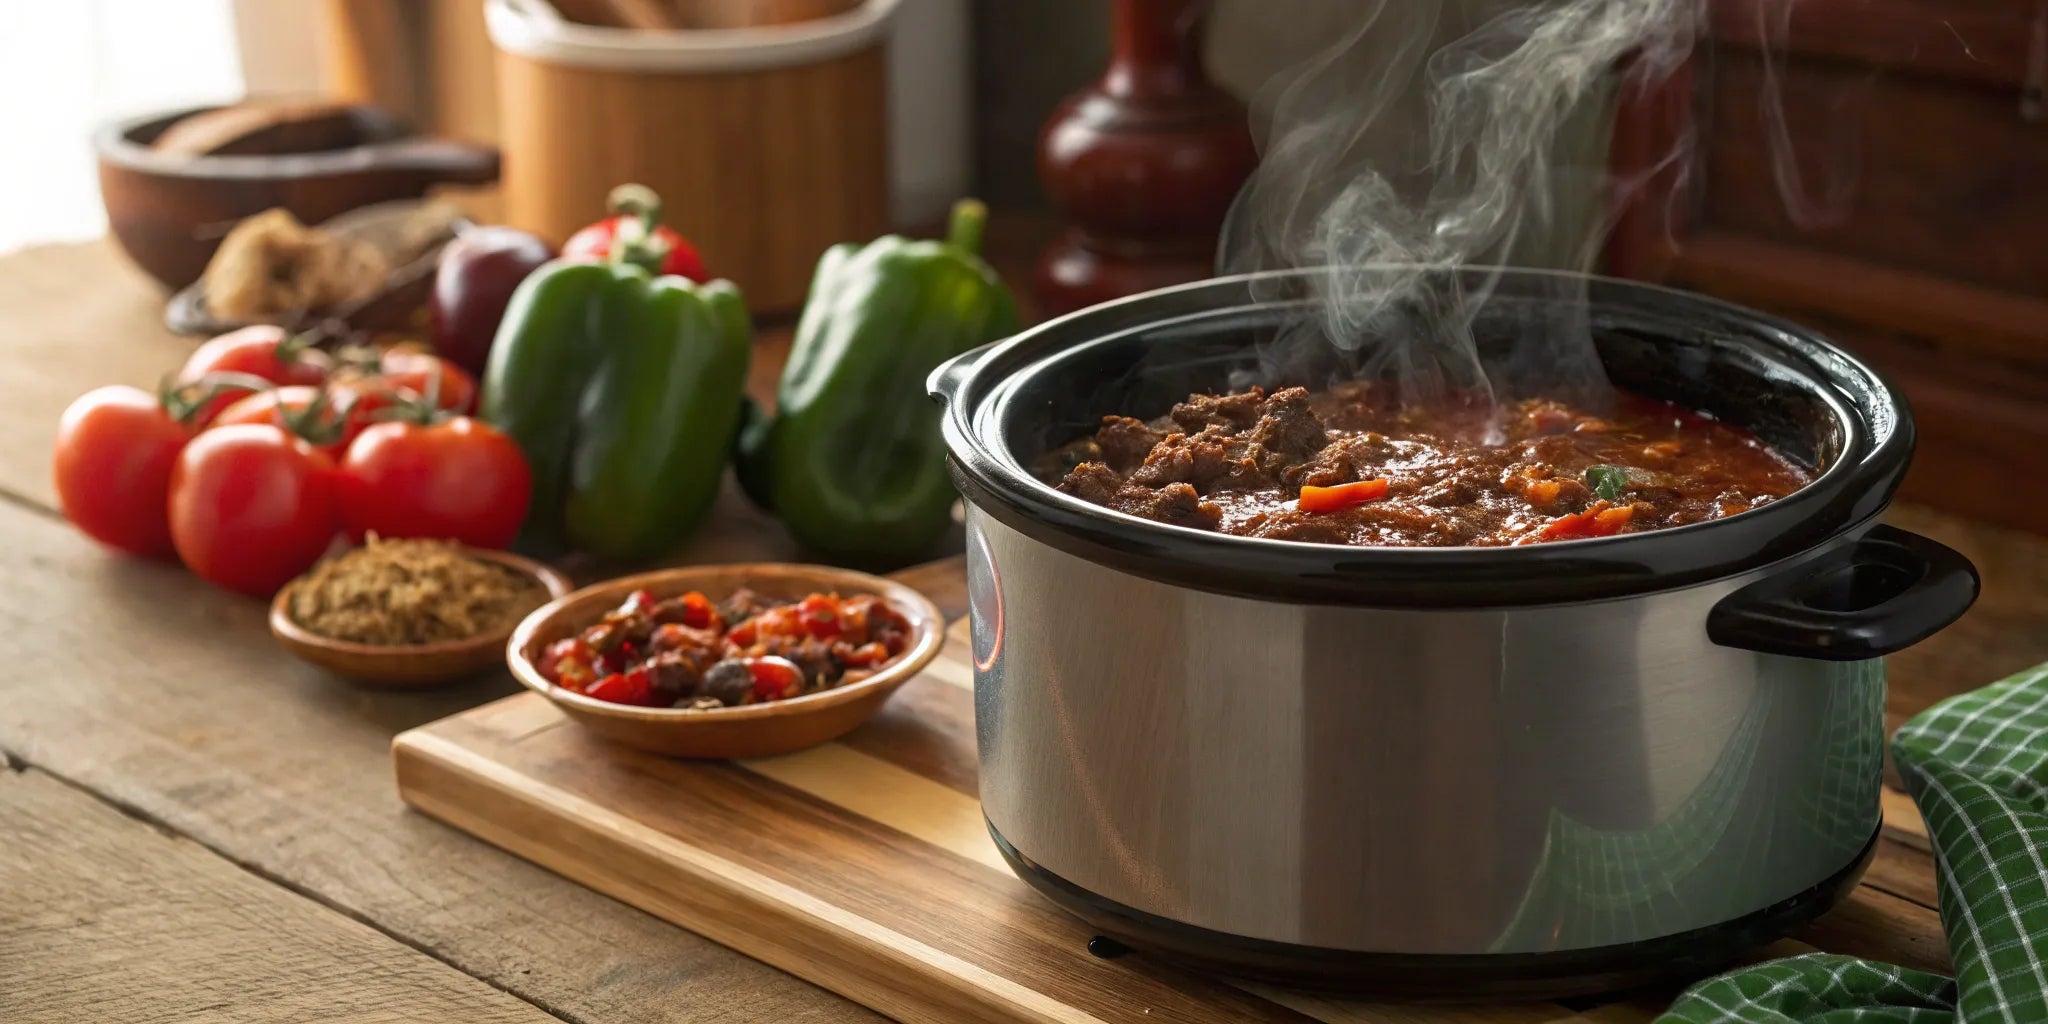
Some meals feel like a hug from the inside, and a slow-simmered chili is one of them. It’s the kind of food that warms you on a cool evening, a bowl of pure comfort that feels both grounding and deeply satisfying. But comfort doesn’t have to mean compromising on nourishment. This wholesome chili recipe in crock pot with beef is crafted with wellness in mind, built on a foundation of lean protein, fiber-rich beans, and vibrant vegetables. It’s a testament to how intentional cooking can create food that not only tastes incredible but also supports your well-being, one slow-cooked, flavorful spoonful at a time.
Key Takeaways
- Create a Savory Foundation: Don't skip browning your beef. This essential first step builds a deep, caramelized flavor base that slow cooking alone cannot achieve, setting the stage for a truly rich and complex chili.
- Embrace the Slow Simmer: Patience is a key ingredient. For the most tender beef and deeply melded flavors, cook your chili on low for 6-8 hours and resist the urge to lift the lid and stir.
- Finish with Brightness and Depth: The final touches make all the difference. Awaken your chili just before serving with a squeeze of fresh lime for acidity, and a final pinch of mineral-rich sea salt to make every flavor in the pot come alive.
How to Make Classic Beef Chili in a Crock Pot
There’s a special kind of magic in a slow cooker. It’s a vessel of patience, transforming simple, honest ingredients into a meal that feels like a warm embrace. Making chili in a Crock-Pot isn’t just about convenience; it’s about giving flavors the time they need to deepen, meld, and become something truly memorable. Let’s walk through the process of creating a classic beef chili that will fill your home with an incredible aroma and your table with comfort.
The Foundation of a Flavorful Chili
A truly remarkable chili begins long before the slow cooker is turned on. It starts with choosing quality ingredients that carry their own story and integrity—think hearty ground beef, earthy kidney beans, and vibrant canned tomatoes. Browning the beef before it meets the other ingredients is a non-negotiable step for us. This simple act of searing the meat enhances the overall flavor of the entire dish, creating a savory depth you can’t get otherwise. It’s the first layer of intention. The slow cooker then works its magic, allowing every component to get to know each other and create a deeply cohesive flavor that tastes like it’s been simmering for days.
The Gentle Art of Slow Cooking
The real beauty of a Crock-Pot is its commitment to cooking "low and slow." This gentle, consistent heat is what coaxes out the richest flavors and transforms even humble cuts of beef into something impossibly tender. It’s a quiet, patient process that asks very little of you but gives so much in return. This method is more than a shortcut; it’s an invitation to slow down and trust the process. It allows you to step away and return hours later to a meal that’s been thoughtfully prepared, ready to be shared. This is the heart of intentional cooking—creating nourishment with minimal effort but maximum care.
Prepare Your Ingredients
A truly memorable chili begins long before the Crock-Pot is turned on. It starts with the thoughtful selection of each component. Taking a few extra moments to prepare your ingredients with intention is a small act of kitchen mindfulness that pays off in deep, layered flavor. This is where you build the foundation of your dish, so let’s give each part the attention it deserves.
Choose and Prepare Your Beef
The beef you choose sets the tone for your chili. For a rich yet clean flavor, I recommend a lean ground beef, like a 90/10 blend. This choice ensures the chili is hearty without becoming heavy or greasy. If you prefer a more steak-like texture, sirloin is a wonderful option. It’s tender, full of flavor, and breaks down beautifully during the slow cook. Whichever you select, the most important step is to brown the meat before it goes into the Crock-Pot. This simple act of searing creates a savory crust that is essential for a deep, complex chili.
Gather Your Spices and Aromatics
This is where the soul of your chili comes to life. While store-bought packets are convenient, creating your own chili seasoning allows you to tailor the warmth and smokiness to your exact preference. Think earthy cumin, smoky paprika, and a touch of oregano. Sautéing your aromatics—like finely chopped onion and garlic—until they are soft and fragrant builds the first layer of flavor. And of course, a good chili needs a great salt. We’ll talk more later about finishing with a mineral-rich sea salt, but using a quality unrefined salt from the beginning helps season the dish from the inside out.
Select Your Beans and Tomatoes
For the beans, always give canned varieties a thorough rinse and drain. This simple step washes away the starchy packing liquid and excess sodium, allowing the beans to absorb the rich flavors of your chili while maintaining a better texture. When it comes to tomatoes, you have options. High-quality canned tomatoes offer consistency and depth, but if you have access to ripe, in-season tomatoes, their fresh brightness can add a beautiful dimension. The goal is to choose ingredients that bring their own integrity to the pot, creating a chili that tastes vibrant and wholesome.
Brown the Beef for Deeper Flavor
Taking a few extra moments to brown your beef before it goes into the Crock-Pot is one of the most important steps in making a truly memorable chili. This isn't just about cooking the meat through; it's a foundational act of flavor-building. This simple ritual transforms the beef from a simple ingredient into a complex, savory base, creating a depth that slow-cooking alone can't replicate. It’s a small act of intention that pays off with every single spoonful.
Why You Shouldn't Skip This Step
I know it can be tempting to throw everything directly into the slow cooker, but browning the beef first is a step rooted in culinary wisdom. As the meat cooks in a hot skillet, it undergoes the Maillard reaction, a beautiful chemical process that creates hundreds of new aroma and flavor compounds. This is where the rich, roasted, and deeply savory notes are born. Skipping this step can leave your chili with a steamed, one-dimensional taste and a slightly greasy texture. By browning the beef, you ensure a cleaner, more robust flavor and a heartier, more satisfying bite.
How to Brown Your Beef
Begin by warming a large skillet over medium-high heat. Once it’s hot, add your ground beef. As it begins to sizzle, use a wooden spoon to gently break it into smaller crumbles. Let the beef cook until it’s no longer pink, allowing it to develop a lovely brown crust in places. This is the perfect moment to begin layering your seasonings. Add a generous pinch of our hand-harvested Colima Sea Salt to draw out the meat’s natural juices and infuse it with a subtle mineral depth that will carry through the entire dish.
Deglaze the Pan for Maximum Flavor
Once the beef is browned, you’ll notice a layer of caramelized bits stuck to the bottom of the pan. This is pure, concentrated flavor—don't let it go to waste. Carefully tilt the skillet and spoon off any excess fat. Then, pour a small splash of broth, red wine, or even water into the hot pan. As it bubbles, use your spoon to gently scrape up all those browned bits, watching them dissolve into the liquid. This simple act of deglazing captures the very essence of the beef’s flavor, ensuring every last drop of savory goodness makes its way into your chili.
Layer Flavors in the Crock Pot
A truly memorable chili isn’t just a mix of ingredients; it’s a story told through layers of flavor. The slow cooker is your vessel for this story, giving each element the time it needs to deepen, meld, and become something more than the sum of its parts. This process is a gentle art, a practice of patience that transforms simple pantry staples into a rich, complex, and deeply comforting meal.
Building flavor is an intentional act. It begins with creating a savory foundation and thoughtfully adding spices, aromatics, and finishing touches at just the right moment. Rather than dumping everything in at once, think of it as composing a piece of music, with each ingredient adding its own unique note to the final harmony. This mindful approach is what separates a good chili from a great one.
How to Layer Your Ingredients
Think of your Crock-Pot as a canvas. Start by placing your heartier, slow-cooking ingredients at the bottom. Onions, peppers, and garlic can go in first, creating an aromatic bed for the other ingredients to rest upon. Next comes the browned beef. Taking the time to sear your meat before adding it to the pot is essential; this step develops a rich, caramelized crust that infuses the entire chili with a deep, savory character.
Once the beef is in, pour your liquids, like crushed tomatoes and broth, over the top. Finally, add your beans. This method of layering allows the flavors to mingle slowly and evenly, ensuring every spoonful is perfectly balanced. It’s a simple technique that yields beautifully complex results.
Balance Your Spices and Seasonings
Creating your own spice blend is a small ritual that makes a world of difference. While pre-made packets are convenient, they often contain anti-caking agents and lack the vibrancy of fresh spices. Not making your own blend is one of the most common chili-making mistakes.
For a milder chili, you can swap diced tomatoes with green chilis for a plain variety. And don't forget the salt. A high-quality, unrefined sea salt does more than just add salinity; its mineral depth enhances the sweetness of the tomatoes and the earthiness of the cumin. A generous pinch of our Colima Sea Salt will tie all the flavors together beautifully.
When to Add Fresh Herbs
While dried spices and aromatics need time to soften and release their flavor, delicate fresh herbs are best saved for the end. Adding ingredients like cilantro or parsley too early will cause them to lose their bright, fresh character in the long cooking process. Instead, stir them in just before serving.
This final touch awakens the entire dish. The pop of green adds a vibrant contrast to the chili's deep, earthy tones. Think of it as the finishing touch that brightens everything up. Some chefs also recommend adding a touch of acidity at the end, like a squeeze of lime juice, which works in perfect harmony with fresh cilantro to give your chili a final, lively lift.
Set Your Crock Pot for Success
The real beauty of a slow cooker is its quiet patience. Setting your Crock Pot correctly is an act of intention, a promise to your ingredients that you’ll give them the time they need to become something truly special. This is where the deep, layered flavors of a memorable chili are born—not in a rush, but in a slow, gentle simmer that fills your home with warmth.
Find the Right Temperature and Time
Patience is the key ingredient here. For a chili where the beef is fall-apart tender and the spices have melded into a single, harmonious flavor, you have two paths. You can cook your chili on the low setting for 6 to 8 hours, which is my preferred method for a truly deep, developed taste. If time is shorter, the high setting for 3 to 4 hours will also yield a wonderful result. This slow, gentle heat is what coaxes out the richness from the beef and allows every ingredient to get to know each other. It's a simple slow cooker method that rewards a little planning with incredible depth.
To Stir or Not to Stir?
Here is your invitation to trust the process. Once the lid is on, resist the urge to lift it and stir. One of the greatest gifts a slow cooker offers is the freedom to step away and let it work its magic undisturbed. Each time you lift the lid, heat escapes and adds to the cooking time. More importantly, leaving the chili alone allows the flavors to settle and deepen in their own time. Think of it as a quiet meditation for your meal. Let it be, and you’ll be rewarded with a richer, more cohesive chili when it’s finally ready to serve.
Adjust the Chili's Consistency
A chili’s texture is just as important as its flavor. For a heartier, thicker consistency, simply drain your beans but don’t rinse them before adding them to the pot. The starchy liquid clinging to the beans will naturally thicken the chili as it simmers over several hours. If you find your chili is still a bit thinner than you’d like near the end of cooking, you can create a slurry with a tablespoon of masa harina and a little water. Stirring this in for the last 30 minutes adds a subtle, earthy corn flavor and creates a beautiful, velvety texture that’s common in authentic chili recipes.
Refine Your Chili's Flavor
After hours of slow simmering, your kitchen is filled with a deep, comforting aroma. This is the moment where a good chili becomes a great one. Refining the flavor is a gentle art of tasting and adjusting, a quiet conversation between you and the pot. It’s about more than just following a recipe; it’s about listening to what the dish needs to truly sing. This final step is where you coax out the layers of flavor you’ve so carefully built, ensuring every spoonful is balanced, rich, and deeply satisfying.
Think of this not as a task, but as a ritual. Take a small spoonful and let it rest on your tongue. What do you notice first? Is it the warmth of the spices, the richness of the beef, or the sweetness of the tomatoes? By paying close attention, you can guide the chili to its most delicious conclusion. This is your opportunity to add the final, personal touches that make the recipe uniquely yours, transforming a simple meal into a memorable experience.
Balance Heat and Spice
The soul of a chili lies in its warmth. Finding the right balance is a personal journey, and you are the guide. If you crave a fiery heat that builds with each bite, you might add a touch more chili powder or a pinch of cayenne. For a gentler warmth that comforts rather than commands, consider using a mild chili powder and tomatoes without added green chiles. Trust your own palate. The goal is to create a pleasant, lingering heat that complements the other ingredients, rather than overpowering them. A well-balanced chili should invite you back for another spoonful, not send you running for a glass of milk.
Add Acidity and Umami
If your chili tastes a little flat or one-dimensional after its long simmer, it’s likely calling for a touch of brightness. Acidity is the secret ingredient that cuts through the richness of the beef and beans, making all the other flavors pop. A simple squeeze of fresh lime juice or a small splash of apple cider vinegar stirred in just before serving can awaken the entire dish. This simple step is one of the most common mistakes to avoid when making chili, yet it makes all the difference, lending a vibrant finish to your creation.
Finish with a High-Quality Sea Salt
The final, most crucial touch is the salt. But not just any salt will do. Stirring in a pinch of common table salt will simply make your chili taste salty. Finishing with a high-quality, unrefined sea salt, however, is an act of reverence for your ingredients. A mineral-rich salt like our Colima Sea Salt doesn’t just add salinity; it enhances and amplifies every other flavor in the pot. The subtle complexity of its trace minerals provides a burst of clean, bright flavor that harmonizes the spices, deepens the umami of the beef, and rounds out the entire dish with a gentle, lingering finish. It’s the last loving detail that honors the meal you’ve created.
Add Vegetables for Texture and Nutrition
A truly memorable chili is a symphony of flavors and textures. Beyond the rich beef and earthy beans, vegetables introduce a layer of brightness and complexity that can transform a simple meal into something deeply nourishing. Think of it as an invitation to add more color, more nutrients, and more life to your pot. It’s a simple way to honor your body while building a dish that feels both comforting and complete. By thoughtfully choosing and adding vegetables, you’re not just making chili; you’re crafting a wholesome meal with intention.
What Vegetables Work Best in Chili?
Your chili is a canvas, and vegetables are your palette. The classics are always a wonderful choice: diced bell peppers offer a sweet crunch, while onions and celery build the aromatic base. But don't feel limited. Consider adding corn for a burst of sweetness or zucchini for a tender bite that soaks up the savory broth. For an earthier depth, diced sweet potatoes or carrots can be a beautiful addition, lending a subtle sweetness that balances the spice. This is a perfect opportunity to use what you have, turning produce from your local market or garden into a key part of your meal. A guide on vegetable-forward chilis can offer even more inspiration for your next creation.
When to Add Your Vegetables
The secret to perfectly cooked vegetables in your chili lies in the timing. It’s a gentle dance that respects each ingredient. Harder, denser vegetables like carrots, celery, and sweet potatoes can go into the Crock-Pot early, along with the beef and tomatoes. The long, slow cooking time will render them perfectly tender, allowing their flavors to meld into the chili. Softer, more delicate vegetables, however, require a lighter touch. Zucchini, corn, and bell peppers (if you prefer them with a bit of bite) should be added during the last 30 to 60 minutes of cooking. This ensures they retain their distinct texture and vibrant flavor, preventing them from becoming lost in the pot. This simple slow cooking technique helps every ingredient shine.
Serve and Garnish Your Chili
After hours of patient simmering, the moment of serving your chili is a ritual in itself. This is where you transform a beautiful meal into a personal experience, layering on textures and fresh flavors that complement the chili’s deep, slow-cooked richness. Think of the bowl as your canvas and the garnishes as your final, loving brushstrokes. It’s an opportunity to gather everyone around the table, letting them build a bowl that feels uniquely theirs.
Our Favorite Toppings and Garnishes
The right garnishes do more than just decorate; they add brightness, creaminess, and crunch. We love to set out small bowls of toppings so each person can customize their own. A cooling dollop of sour cream or Mexican crema balances the warmth of the spices, while creamy, sliced avocado adds a buttery softness. For a fresh, sharp bite, offer finely chopped red onion and a scattering of bright cilantro. A generous handful of shredded sharp cheddar or Monterey Jack melts beautifully into the warm chili. And for a final, perfect touch, a pinch of Colima Sea Salt over the top will make every flavor pop with its crisp, mineral-rich flake.
What to Serve with Your Chili
Chili is a wonderfully generous dish, ready to be served in many comforting ways. A classic pairing is a piece of warm, golden cornbread, perfect for soaking up every last drop from the bowl. For a truly satisfying meal, ladle the chili over fluffy baked potatoes or a simple bed of steamed rice. It’s also fantastic when used as a hearty dip for sturdy tortilla chips—an ideal setup for a casual evening with friends. You can find even more creative serving ideas that show just how versatile this dish can be. No matter how you serve it, the goal is to create a meal that feels both nourishing and deeply comforting.
Store and Reheat Your Leftover Chili
One of the simple joys of making a large pot of chili is knowing you have a delicious, nourishing meal waiting for you. Storing it properly ensures that your next bowl is just as wonderful as the first—if not more so.
How to Store Leftover Chili
There’s a certain magic to next-day chili. As it rests, the spices and flavors meld, deepening into a richer, more complex character. To preserve your chili, first allow it to cool to room temperature. Then, transfer it to an airtight container and place it in the refrigerator, where it will keep beautifully for up to four days. For longer-term enjoyment, you can freeze your chili for up to three months. Simply portion it into freezer-safe containers, leaving a little room at the top for expansion. When you’re ready, thaw it overnight in the refrigerator for the best results.
How to Reheat Chili for the Best Flavor
When it’s time to enjoy your chili again, you can gently reawaken its flavors on the stovetop or in the microwave. For a more intentional approach, warm it in a saucepan over medium-low heat, stirring occasionally until it’s heated through. This method allows the aromas to fill your kitchen once more. If you’re short on time, the microwave works perfectly well; just be sure to heat it in intervals, stirring in between to ensure it warms evenly. No matter which method you choose, you’re just moments away from another comforting and satisfying meal, a true gift from your past self. You can explore more tips on the best way to reheat leftovers to preserve their texture and taste.
Common Chili Mistakes to Avoid
Crafting a memorable chili is a beautiful process, but a few common missteps can stand between you and an exceptional bowl. Think of these not as rules, but as gentle guidance to help you create a chili that is rich, aromatic, and deeply satisfying. By cooking with intention, you can sidestep these simple errors and let your ingredients shine.
Avoid Overcooking or Undercooking
When making chili, especially with a slow cooker, it can be tempting to add the raw meat directly to the pot to save time. I encourage you to resist this urge. Taking a few moments to brown your beef first is perhaps the single most important step for building flavor. Searing the meat creates a savory, caramelized crust that adds an incredible depth that you simply won't achieve otherwise. This initial step is essential for enhancing the overall taste of your final dish. That rich, brown crust slowly melds into the sauce, creating a foundation of flavor that makes the chili feel complete and well-rounded.
How to Avoid Common Seasoning Mistakes
The soul of a chili lies in its spices, and how you handle them matters. First, consider blending your own spices instead of relying on a pre-made packet. When you prepare your own seasoning mix, you control the freshness and balance, ensuring each spoonful is vibrant. Second, timing is everything. Spices need heat and time to bloom and release their full aromatic potential. It's best to add spices early with your aromatics, allowing their flavors to meld and infuse the entire dish as it simmers. Finally, check the freshness of your spices. That jar of cumin that’s been in the pantry for years won't offer the same warmth as a fresh one. Honoring your ingredients means using them at their peak.
Related Articles
- The Ultimate Chipotle Steak Bowl Recipe – Santa Prisca & Co
- How to Make Chipotle Mexican Grill Carnitas – Santa Prisca & Co
- 7 Hearty Beef Breakfast Recipes for a Strong Start – Santa Prisca & Co
Frequently Asked Questions
Can I use a different meat besides beef in this chili? Absolutely. This recipe is wonderfully adaptable. Ground turkey or chicken are great lean alternatives; just be sure to add a little olive oil to the pan when browning them to prevent sticking and help develop flavor. For a vegetarian version, you can omit the meat entirely and add an extra can of beans, like black or pinto beans, along with some hearty vegetables like diced sweet potatoes or mushrooms to create a rich, satisfying base.
My chili came out too watery. How can I thicken it? This is a common issue with a simple fix. If you notice your chili is thinner than you'd like near the end of the cooking time, you can create a slurry. Whisk a tablespoon of masa harina or cornstarch with a few tablespoons of cold water until smooth, then stir it into the chili. Let it simmer for another 20-30 minutes with the lid off, and it will thicken beautifully while adding a subtle, authentic flavor.
Do I really need to brown the meat before adding it to the Crock-Pot? I know it’s an extra step, but I promise it’s the secret to a chili with deep, complex flavor. Browning the beef creates a rich, caramelized crust on the meat that slow cooking alone cannot replicate. This process develops a savory character that infuses the entire dish. Skipping it can leave your chili tasting a bit flat, so I encourage you to embrace this small ritual for a truly memorable result.
What if I don’t have a slow cooker? Can I make this on the stovetop? Of course. You can easily adapt this recipe for the stovetop using a large, heavy-bottomed pot or Dutch oven. Follow all the steps for browning the beef and sautéing the aromatics in that pot. Once you’ve added all the ingredients, bring the chili to a gentle simmer, then reduce the heat to low, cover, and let it cook for at least 1.5 to 2 hours, stirring occasionally to prevent sticking.
You mention adding salt at the beginning and the end. Why both? This is an intentional way to build layers of flavor. Adding a quality unrefined salt while browning the beef seasons the meat from within, creating a savory foundation for the entire dish. A final pinch of a finishing salt, like our Colima Sea Salt, just before serving is for a different purpose. Its crisp flake adds a clean burst of mineral brightness and a delicate texture that awakens all the other flavors in the bowl.